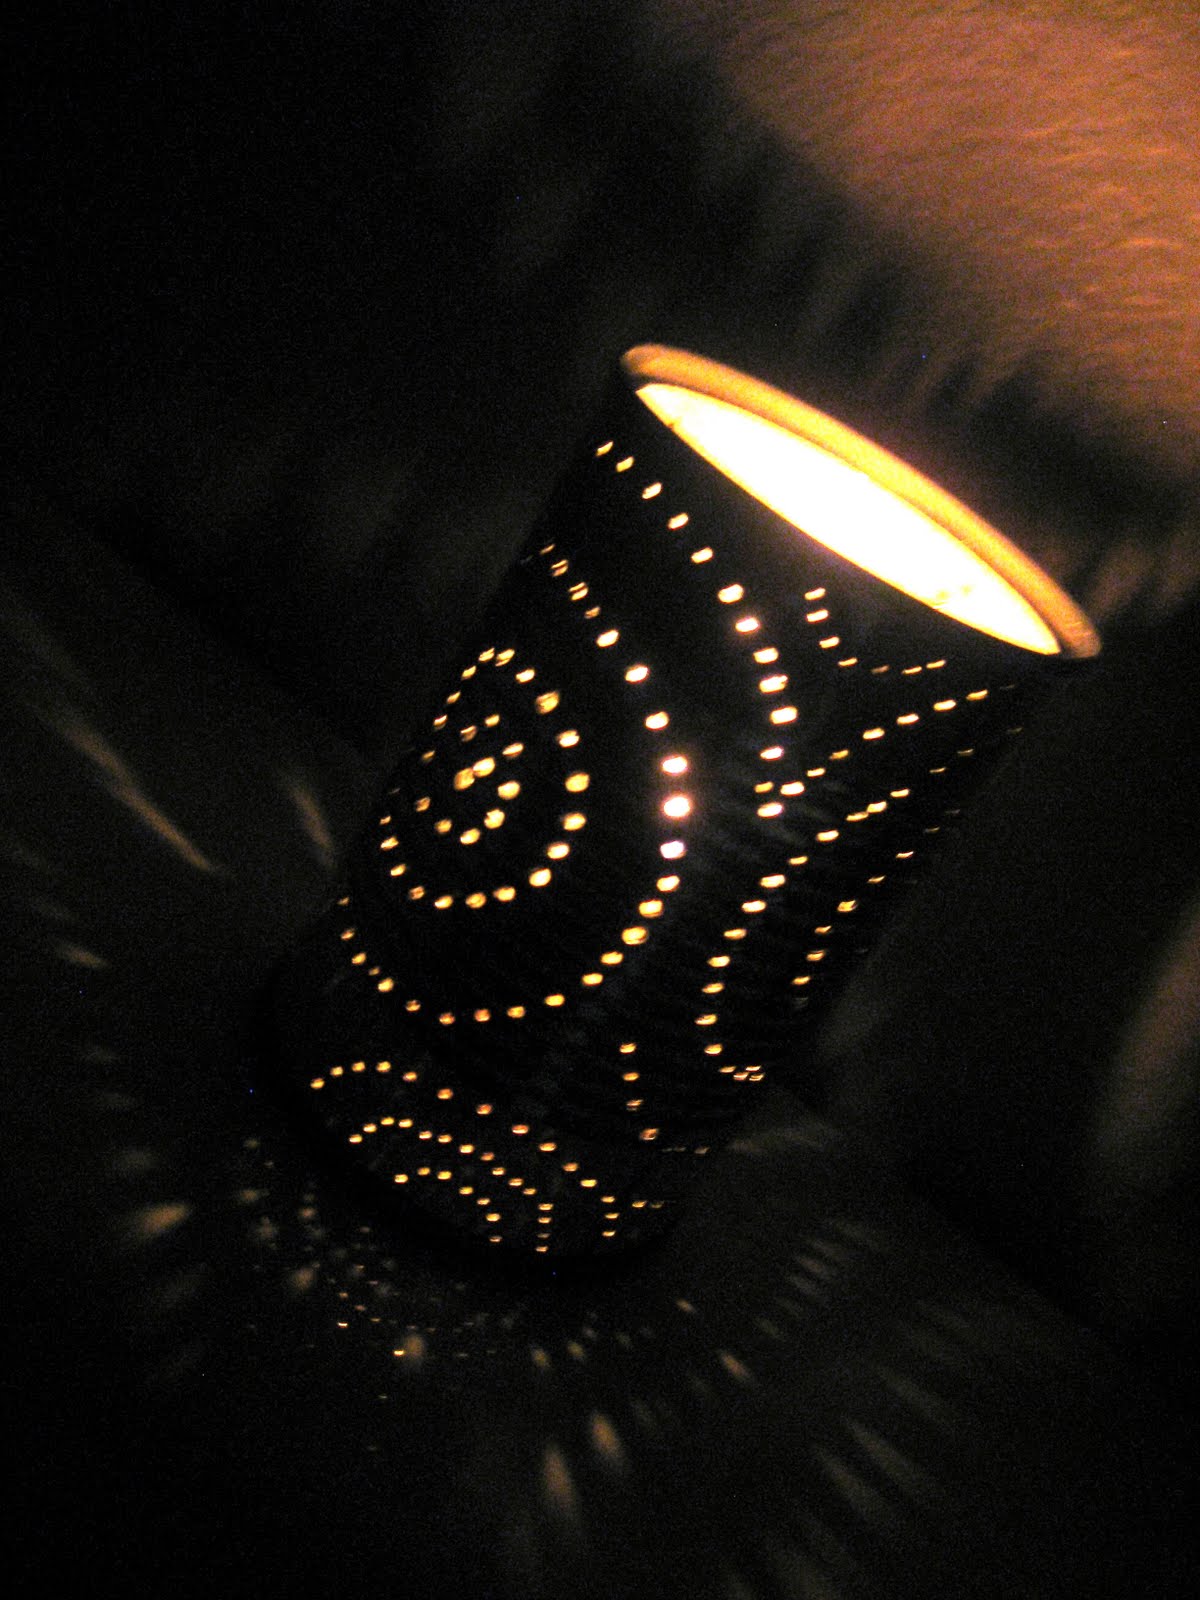
 I'm not sure if it's just me or not, but I always seem to have 5 or 6 cans of random canned goods that I never have, and never will, use. Currently I have a small stockpile of store bought canned peaches bought by my parents during a visit roughly 3 years ago. I'm not a fan of these. At. All. I've gotten quite spoiled by an aunt of mine that cans her own peaches and bestows upon me a few heavenly jars at a time. But, that's another story. The point is I keep forgetting to donate these canned goods to food drives (I feel like a terrible person) and they're just taking up my, fairly limited, kitchen cupboard space.
And then, out of nowhere, I was reminded of a project that I did during 2nd grade. Our teacher had us all bring in cans. We opened one end, washed out the cans, filled them with water and stuck them in the freezer. Once the water was frozen in the can we all marked designs on our cans. Anything we wanted with tiny dots of permanent marker. Then we were each presented with a hammer, a few nails, and an older student to help us. We then hammered the nail in a bit into each dot on the can. The ice prevented the can from denting in, and the nail and hammer created a pattern of holes all over the can. After we were done we let the
 ice melt out of the cans, dried out the insides and set small tea light candles inside. When lit the candlelight shines out of the holes producing a pretty pattern of light on the surrounding walls.
This project was a perfect way for me to use these canned peaches! It was fun and made me feel like a kid again. Plus it's literally a FREE diy project, that you're basically guaranteed to have supplies for! Unfortunately, I only had screws, no nails. But, It still worked just fine other than leaving a few blisters on my fingers!
**Update: I didn't think too far ahead by putting the holes all the way to the bottom of the can. You should leave the bottom bit unpunched, or else the melted wax will ooze out the bottom holes! Learn from my mistakes!

